Hand-laying Track
Straight Stringers
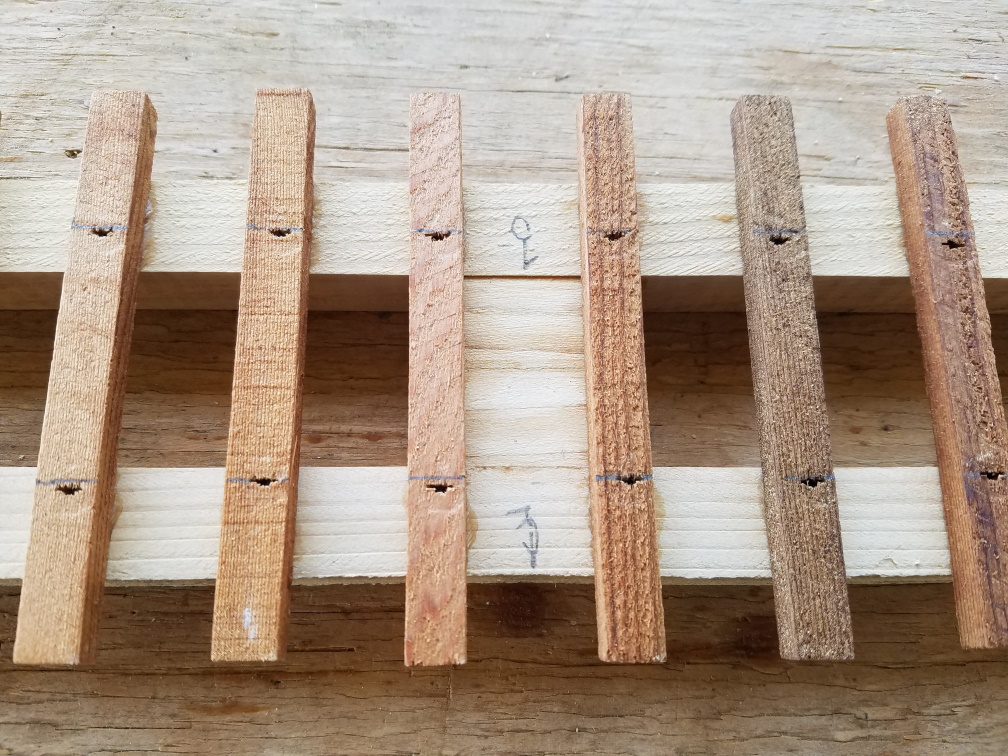
I rip cheap cedar fence boards into ¾” wide pieces, getting four per board. The height of my stringers will be ¾”, so I use the clean-cut sides as the top-bottom. I glue two of these together and cut 1-inch blocks to act as spacers between the straight stringers. (Any stringer scraps can be recycled as spacers.)
I simply glue and clamp these without any nails or screws. The addition of ties and attachment to the baseboard will bond everything together permanently.

Gluing and Nailing Ties
I have a tie-spacing template with ties drawn at 1.2” apart, which gives ten ties per foot. (This is the same as Llagas Creek flex track.) I use small snack-size zipper bags filled with sand as weights for holding the glued ties down while the glue sets. Each bag will cover five ties, so I put them down five at a time.


Once the glue has set, I use a brad nailer to attach each tie to the stringers. Make sure that each nail ends up under the rail by marking gauge lines 45 mm. apart and nailing just outside of those lines. (I thoroughly wet down the ties before I nailed them to help make sure they wouldn’t split.)
Note: I wrote this in July 2019, and since then I have found that using longer spikes holds the ties in place well, so I no longer nail the ties down. Also, sometimes the nail would end up where I wanted a spike!

Spiking Rail
I start spiking rail down by placing the length on the ties with a straight-edge and spiking it down in just a few places – say every foot. Then I carefully spike in between those spots, dividing each into halves and so forth until the rail is spiked every two or three ties.
The second rail needs to be spiked in gauge, so I break out my track gauges and put one on each side of the tie I’m spiking. For this rail, I spike the same ties as on the first rail.
At this point I just proceed spiking the remaining ties from one end to the other.

Curved Stringers
I made a curved track jig to use to laminate three pieces per side of bender board or lathe cut to ¾” width. I use the same spacers as for the straight stringers. In hindsight, I realized that I could have used fewer spacers on this first curved piece (perhaps using many as construction spacers and not gluing them).

I drew a template with LibreCad (CAD software of choice because it’s free) and used that to position the ties similar to the straight section process.

(This post was mostly written a year ago. I was embarrassed when I looked at the last update to this blog! I’ll add a few more posts, because I have photos from the construction process.)
Comments are closed.
